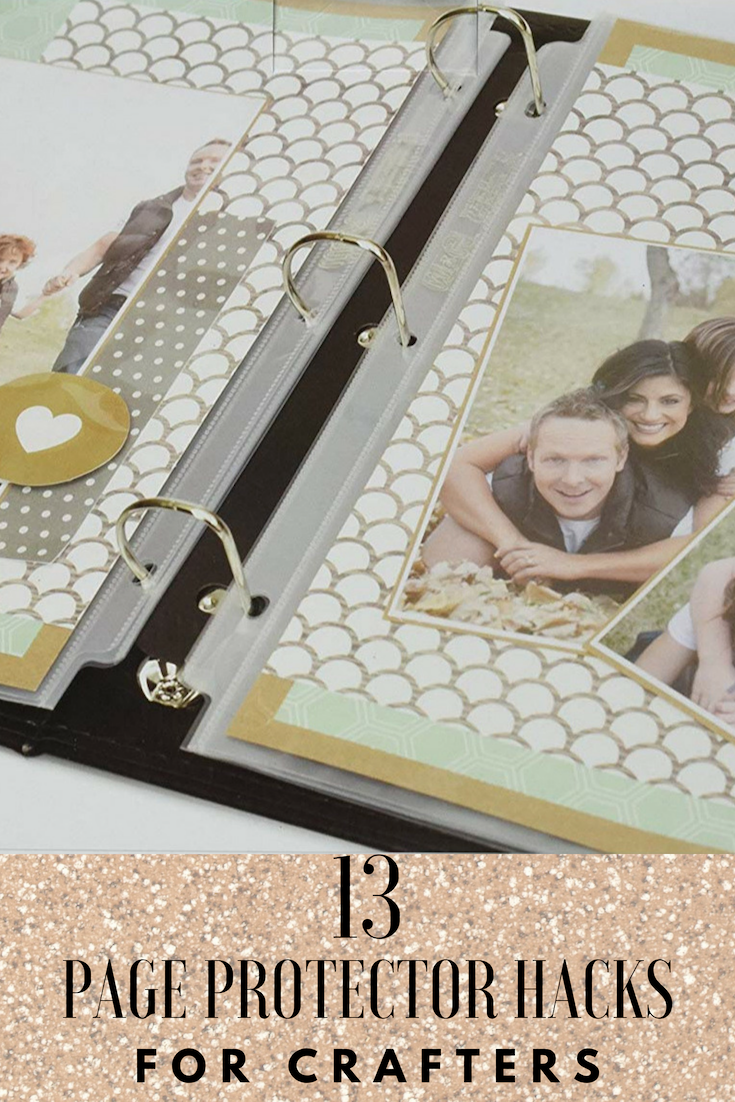
Over the years I have accumulated many page protector sleeves in a variety of sizes. Though, in the past I have mostly used them to protect my scrapbook pages I am always open for new ways to put them to use.
As a crafter I am inspired by the many ways page protectors can be used beyond their original intention and I thought it would be fun to explore and share some of those creative ways that they have been re-purposed and re-shaped to offer you creative options.
The following finds utilize a variety of crafting tools, some of which you may already have on hand in your craft stash. Some of these creations are for use in your photo albums and some are great ideas to add to your journals, planners . I also discovered some fun gift items that you can create with mini page protectors.
As you take time to look at these creations, keep your mind open to how YOU might want to use these in your next projects.
Make Divided Page Protectors – Using Sewing Machine or Washi Tape
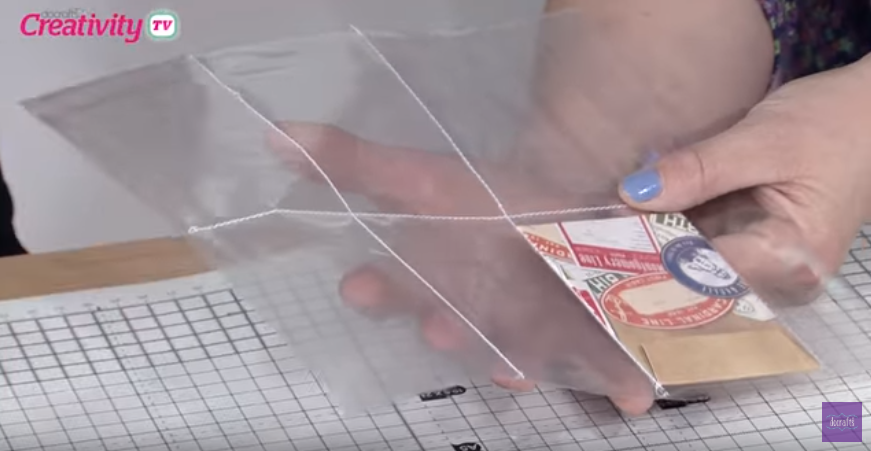
First up is a tutorial on how you can make divided page protectors that are perfect for scrapbooks or any type of album for that matter. Of course you may already know that divided paged page protectors are available for purchase, but can sometimes be a bit more expensive. I like the ability to be able to improvise and create my own, with my own sized dimensions and make pockets that fit whatever item I want to protect and showcase. Knowing these tricks, you can create pockets for your card creations, ATC cards, Wedding Invitation, etc.
Tools needed: sewing machine to create the pockets, but also has an alternate way of creating the pockets using Washi Tape. A ruler, craft knife and craft mat are also vital to making adjustments to the pages.
Make Divided Page – Protectors
Make Divided Page Protectors – Using Heat Tool
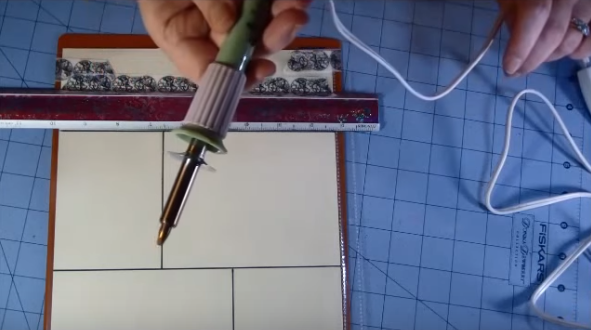
The following video also shows how to make a divided page protector using a heat tool. The tool used in the video is called Hot Marks by Walnut Hallow, but you could get the same effect by using a a Fuse Tool by We R Memory Keepers. I found this video to be a bit slow paced and it has odd music, but it gave some really good tips on how to plan your divided page and then use the heat tool to seal the pockets.
Tools needed: ruler, heat tool, craft knife and mat
Make Divided Page Protectors – Video
Make Any Page Protector Work In Any Album
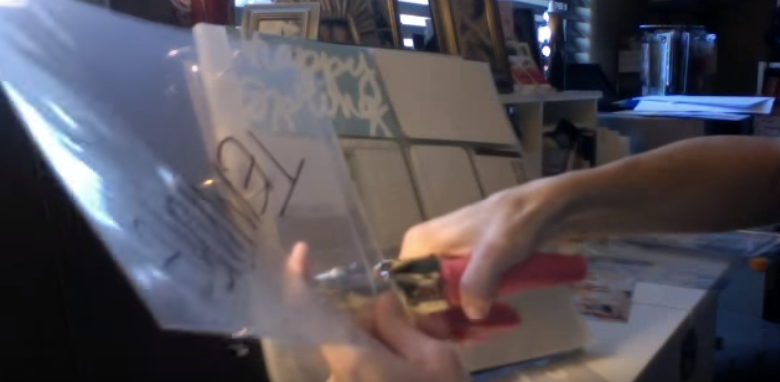
I’ve personally had this happen where, I picked up a pack of specialty page protectors only to find that they did not fit the album that I was working with. In the moment of finding a good deal, we sometimes forget to look at those vital details. This video has some good tips on how to simply adjust your page protector to fit the album you are using. Of course, the hole placement is one of the most important things to take note of, but this video has some other good insights for making adjustments to your page protectors.
Tools needed: Cropodile (hole punch)
Make Any Page Protector Work In Any Album – Video
Make Custom Page Protectors
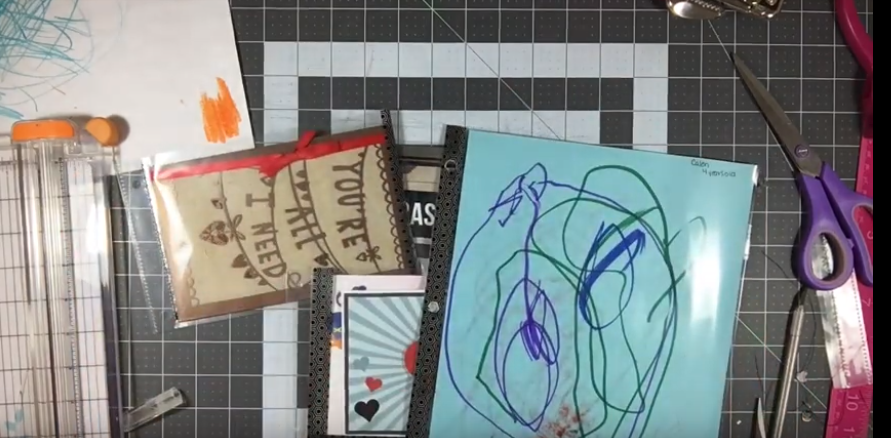
In this video, Melody walks through how she creates custom sized page protectors for projects created by her kiddo so she can safely add them to her scrapbook albums. Several different techniques are presented which offer a variety of ways to protect beloved kiddo creations. Of course, you can simply adapt this to any type of document or memorabilia that you want to protect for years to come.
Tools needed: ruler, scissors, Cropodile, Washi Tape
Make Custom Page Protectors – Video
How to: DIY Traveler’s Notebook Clear Folder
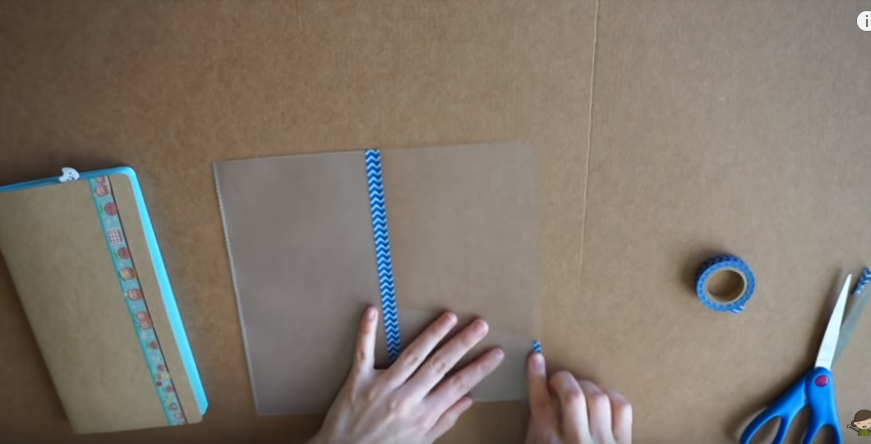
If you are a fan of travelers notebooks this how to video will be a fun watch. It will show you how to make a clear traveler’s notebook folder out of a page protector. You will learn how to customize it with colorful Washi Tape.
Tools needed: scissors, Washi Tape
DIY Traveler’s Notebook Clear Folder – Video
DIY Travelers Notebook Pocket Dashboard Insert
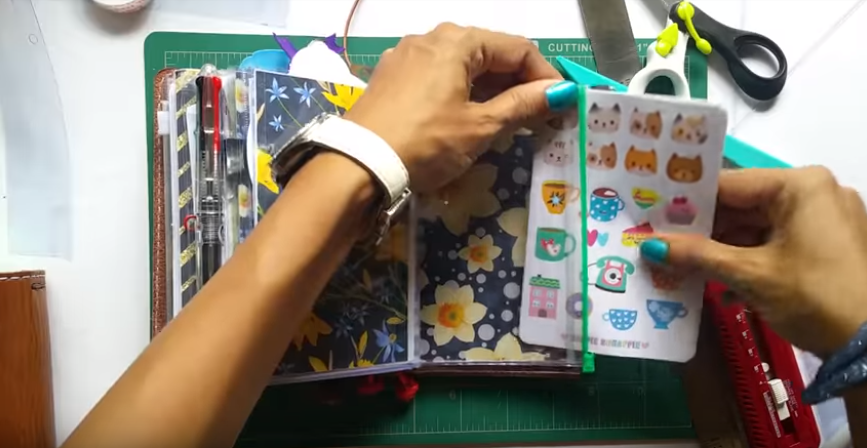
Yet, another way to re-purpose a page protector, the following video tutorial will walk you through how to create a traveler’s notebook dashboard insert. I imagine this same technique could be used to make journal dashboards as well. Watch through to the end of the video and you will have access to a tutorial on how to create a zip pocket page as well. I found the presenter to be a bit hard to understand, but she does a very nice job in the recording visually walking you through the steps.
Tools needed: ruler, craft knife and mat, scissors, corner rounder, hot glue gun
DIY Travelers Notebook Pocket Dashboard Insert – Video
DIY Pocket Pages For Your Midori – Recipe Storage
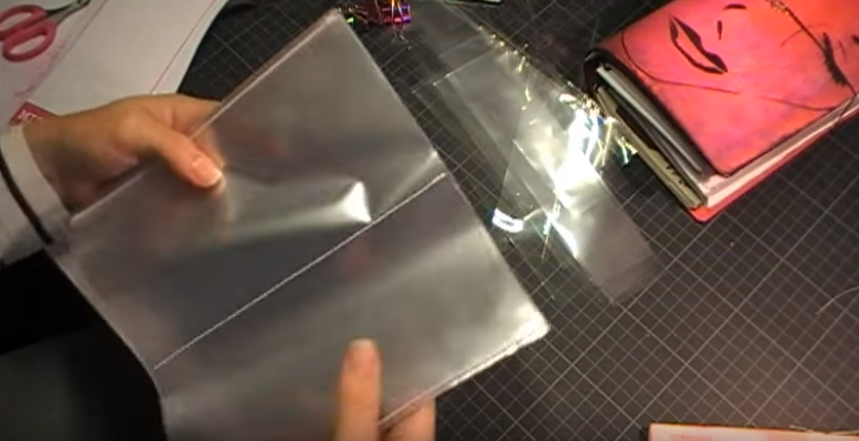
So what is a Midori you ask? Great question…Ultimately a Midori is a fancy name for a Traveler’s Notebook. I realize I’ve already shared several great tutorials and resources using page protectors to create pockets to fill a Traveler’s Notebook or Journal. Though this tutorial is similar in that it is about creating insert pockets I think it has a bit of a creative twist that you might find interesting to learn about.
Tools needed: sewing machine, ruler, craft knife and mat, clips to hold pages in place while sewing, scissors
Pocket Pages For Your Midori – Video
Make Page Protector Pocket To Hold Cash Or Receipts For Your Planner In Under A Minute
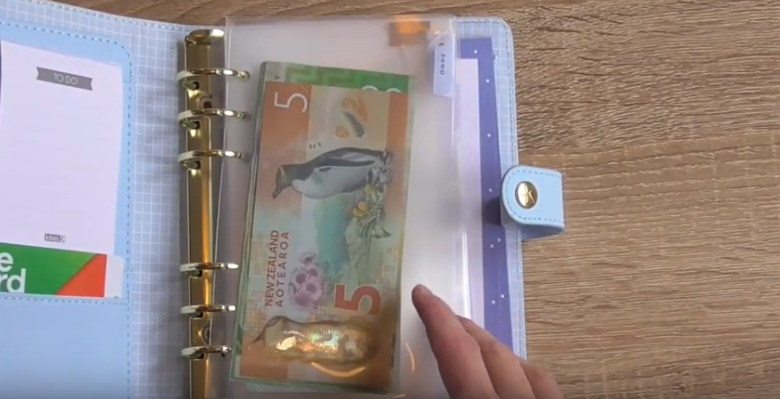
This 4 1/2 minute video shows you how to quick and easily make a page protector pocket to hold your cash or receipts. Very simple and easy to re-create.
Tools needed: scissors, hole punch
Make a page protector cash or receipt pocket for your planner
Add Flip Pockets to your Project Life Pages
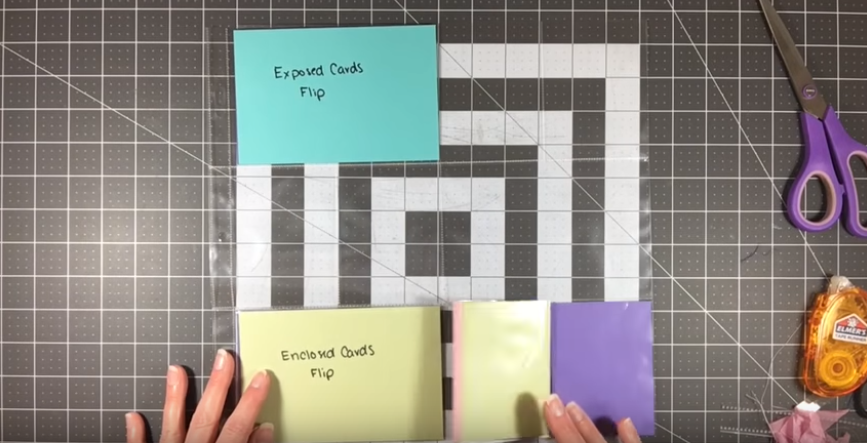
Another tutorial from DesignsbyMelody where she teaches how to create three different flip pocket pages utilizing page protectors. It walks through the process using many tools that you likely already have on hand. All three of the techniques are a fun way to bring your memory albums to life by making them interactive. Melody does a lot of scrapbooking by creating Project Life Pages, but simply put, you can use these ideas for any page protector project you want to create.
Tools needed: trimmer, scissors
Add Flip Pockets To Your Project Life Pages – Video
Scrapbooking Making a Die Cut Storage Notebook
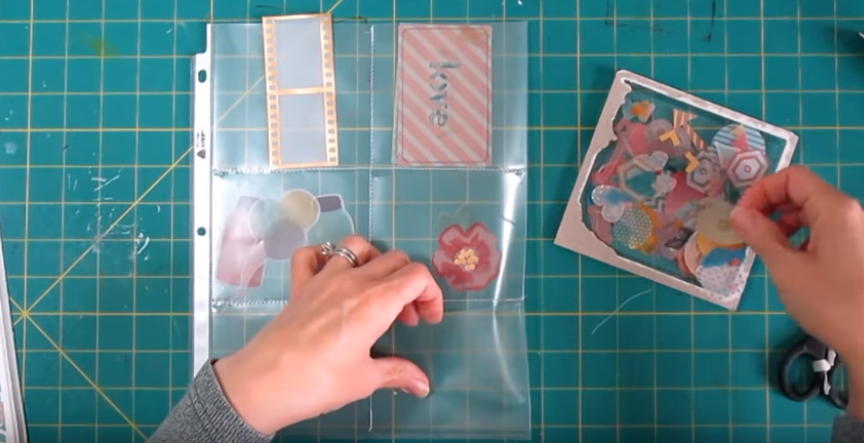
Lisa (LisaEDesign) shares a a fun organizing technique that you can use to create pockets out of your page protectors to store your die cuts and flat embellishments as a way of organizing your craft space. From my own experience, I know that when I am not organized I don’t enjoy creating as much, because I’m too busy trying to find where everything is. One of the best things we can do for ourselves as crafters is to be as organized as possible, to enjoy the creative process. This is a really cool idea.
Tools needed: sewing machine, Sharpie, ruler, scissors
Make A Die Cut Storage Notebook – Video
Make Mini Books Using Page Protectors
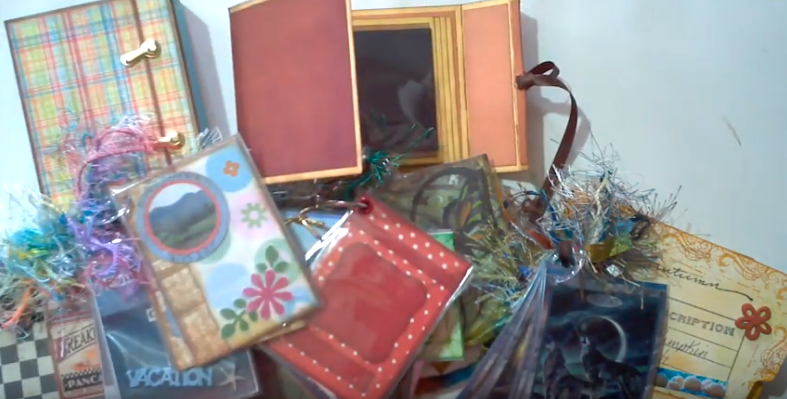
This video is mostly for inspiration as there is no tutorial on how to create these mini books by using ATC sized pocket protectors. I am adding them to this great list, because of the many creative gift options you can make these for. The video creator, Debbie walks through the process, but again, there is not a visual tutorial to create them. Debbie’s enthusiasm for this project just may get you pumped up to make some gifts for upcoming events and holidays. These have potential to also be a really good craft fair item by making generic mini books that simple pictures can be added or add inspirational quotes to bring a blessing to someone.
Make Mini Books Using Page Protectors – Video
Photo Brag Book
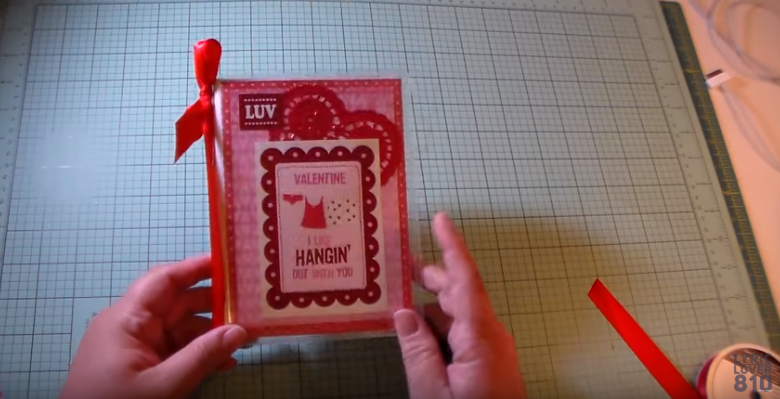
If you have kiddos, grand-kiddos or even fur pets that you love to brag about, page protector project will be one you will enjoy creating these Photo Brag Books. This project idea has been around for quite a few years, but feel it is the kind of project that never goes out of style. Of course creating one for yourself is a great idea, but when you see how easy these are to create, you won’t want to stop there. These make great gifts for ALL occasions as well as make for super easy craft fair and boutique items if you are looking for ideas on making some extra money for your creations. These brag books are made by using 4×6 pre-made photo albums that you can find at the .99 stores. This tutorial by Amber gives a very basic step by step process on how to transform these inexpensive photo albums that have multiple page protectors sewed together. Amber states she has been making these for years and provides a variety of inspiration videos that are listed in her comments section of this video.
Tools needed: since these are pre-made photo books, the tools needed are based on the inserts that you will create to scrapbook your brag book
Photo Brag Book – Video
Name Badge Album
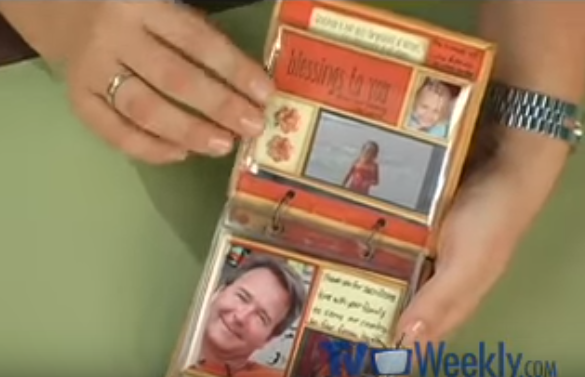
We have reached our last page protector project and I have to say this is probably one of my favorites. I found this gem several years ago and just think it is so creative. This mini album is created by using a unique page protector. It’s unique, because it uses Name Badge protectors. This specific video tutorial by TVWeekly gives very simple mini scrapbook page layouts to finish a complete little mini album. It is finished off by connecting the name badge holders together using ring clasps or ribbon.
If you would like more Name Badge Mini Album inspiration please check out my Pinterest Board.
Note that Name Badges come in a variety of sizes and orientations. This project idea can be adjusted to fit your needs and available badge holder inserts that you have on hand.
Tools needed: ring clasps and whatever you choose to use to create your page inserts
Name Badge Album – Video
