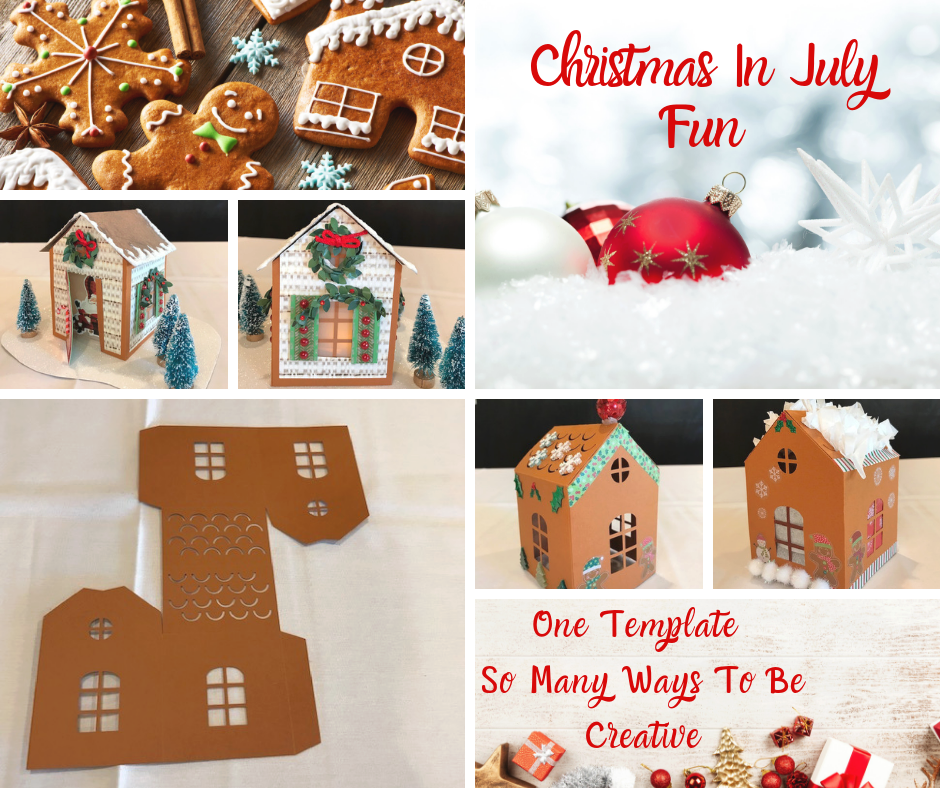
Christmas In July?
Have you heard of the phrase “Christmas in July”?
In winter, many of us are dreaming of summer, but it is the opposite in winter. Sometimes Christmas revelries seem too far away. Christmas in July galas and events are promoted throughout the month with no specific time. The Christmas in July festivities are thought to originate in the 1930 s when a summer camp put up a Christmas tree and feasted on holiday menus in July, which gained attention. However, a Hollywood film entitled Christmas in July , released in 1940 was the first time the mainstream public was introduced to this phrase. The movie, performing actors Ellen Drew and Dick Powell, is not peculiarly Christmassy; it is more of the relevant recommendations of the Christmas mentality. At Christmastime, beings are happier, expend more, and just seem to be in the festive and giving spirit. The assertion of the movie is that the main character comes into money and celebrates as if it were Christmas. However, the quotation has been adapted from this and become what it is known today as a term of celebration.
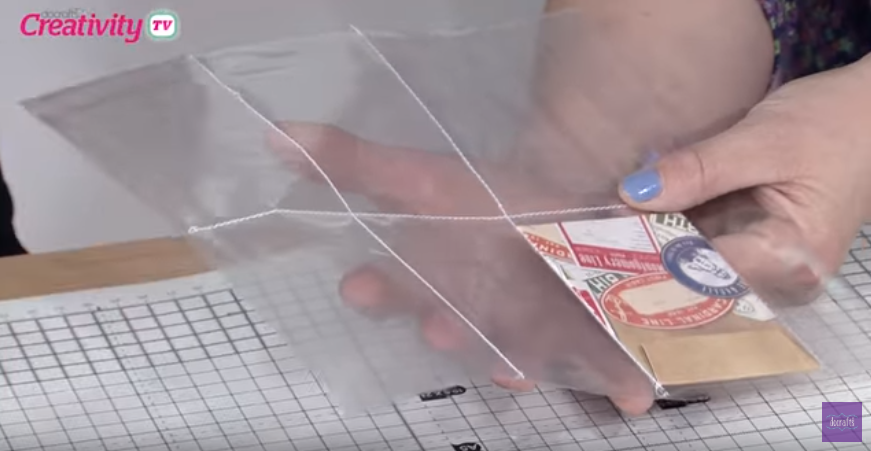
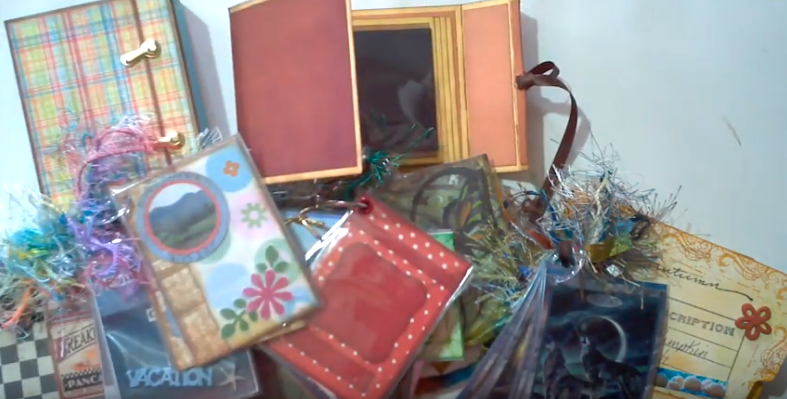
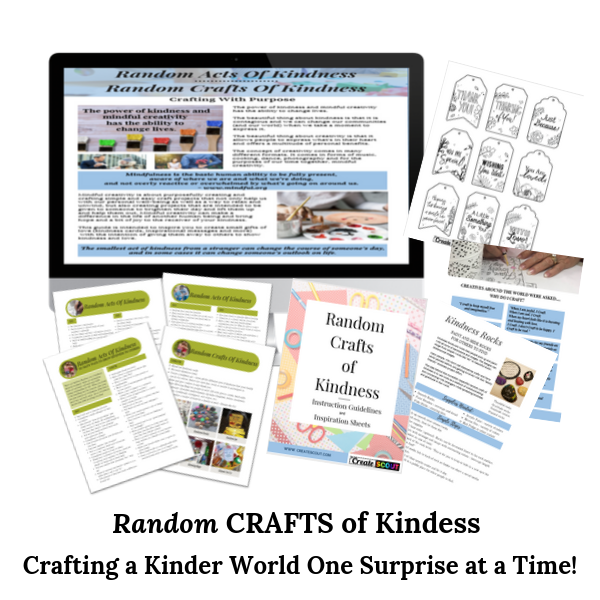
As a scrapbooker and card maker I have heard this phrase fondly used and shared in many of the creative communities I participate in. As the summertime heat approaches it makes for a great way to take our minds off of the hot weather outside of our craft room doors. In addition, as creatives it is another great opportunity to “get our craft on”. Yes, It’s a reason to party. If you haven’t yet heard this term, simply put, it gives us creatives another reason to decorate and celebrate and get a jump start on our Holiday card making, begin gift making projects as well as a time to inspire us to catch up on finishing projects that have been sitting on a shelf waiting to be finished.
Attending My FIRST Christmas In July Crop Event
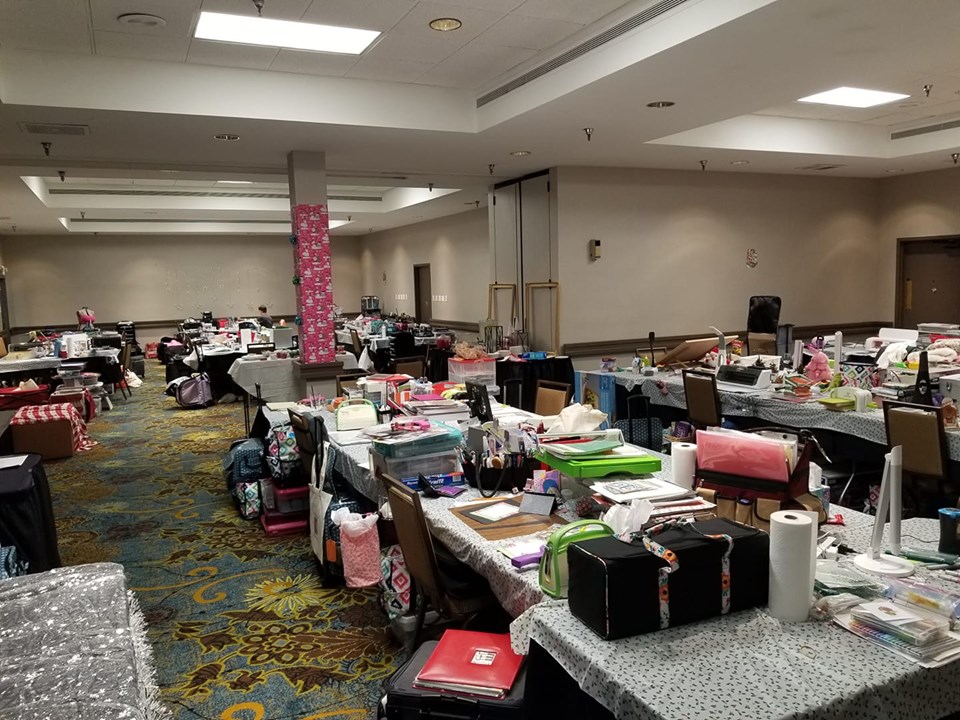
I have been to several crafting events and crops, but had never been to an official Christmas in July Crop until this year. I had the great joy of participating in a Christmas in July Crop, hosted by my dear friend, Tracy. Living in Arizona, this was especially appreciated because we were experiencing many days of 110+ degree weather. So having the opportunity to craft in the luxury of a well air conditioned hotel for a 3 day retreat was a Christmas gift all by itself. I spent a wonderful long weekend, along side many wonderful women who all have the same love and joy of being creative.
There was an abundance of talent, laughter, and food all weekend long. One of my stand out memories is that when women get together with a single mission, they are loving and caring beyond belief. I especially enjoyed just connecting with these beautiful women. Many ladies got a lot of projects completed and some (my hand is raised), with visions of completed projects dancing in their head, were just happy to enjoy the friendship and inspiration of everyone in the room.
So What is the difference between a regular crop and a Christmas in July crop? Ambiance, my friend, festive ambiance.
That AND, well…
Christmas decorations
Festive holiday food
Holiday attire
Christmas PJ crop night – Yup, that was fun! It’s kind of tough to find Christmas PJ’s that can be worn in the summer heat
Christmas music
Daily gifts from the Santa hostess that we got to unwrap
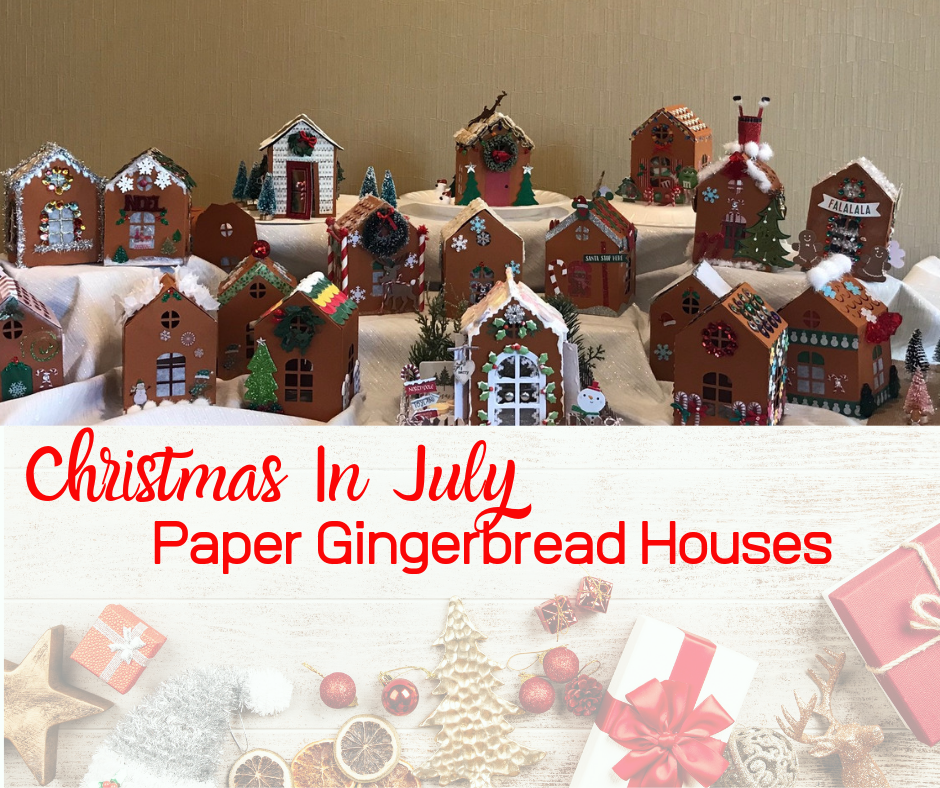
Gingerbread House Decorating
Being that this was a paper crafting event, the Gingerbread Houses were made out of…paper. Everyone was given a basic Gingerbread House template. We all knew about this ahead of time, so had the ability to bring some decorating elements of our choice. However, our event hostess, provided an embellishment bar with a variety of goodies to select from and decorate our beauties. It was fun to see the creation process in action.
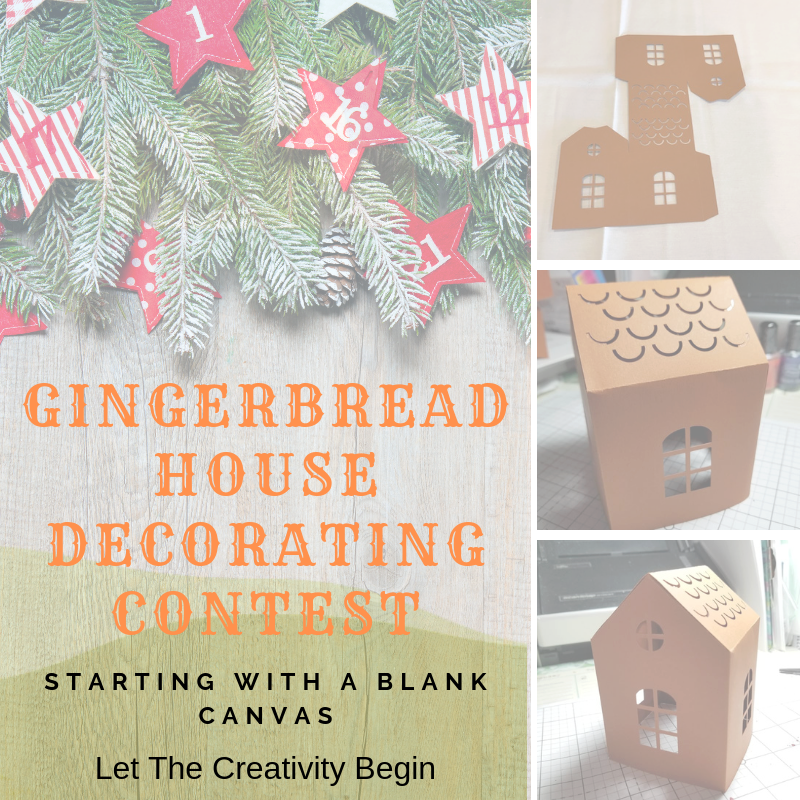
My biggest take-away moment is being reminded that even starting out with a blank canvas, the crafting possibilities are endless. There was definitely no shortage of creativity in the room.
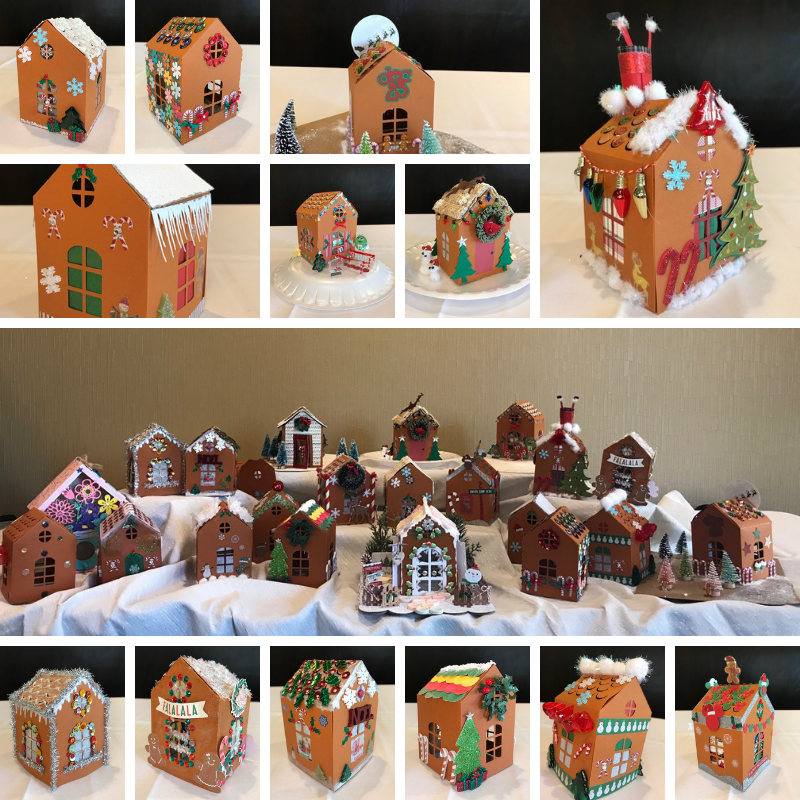
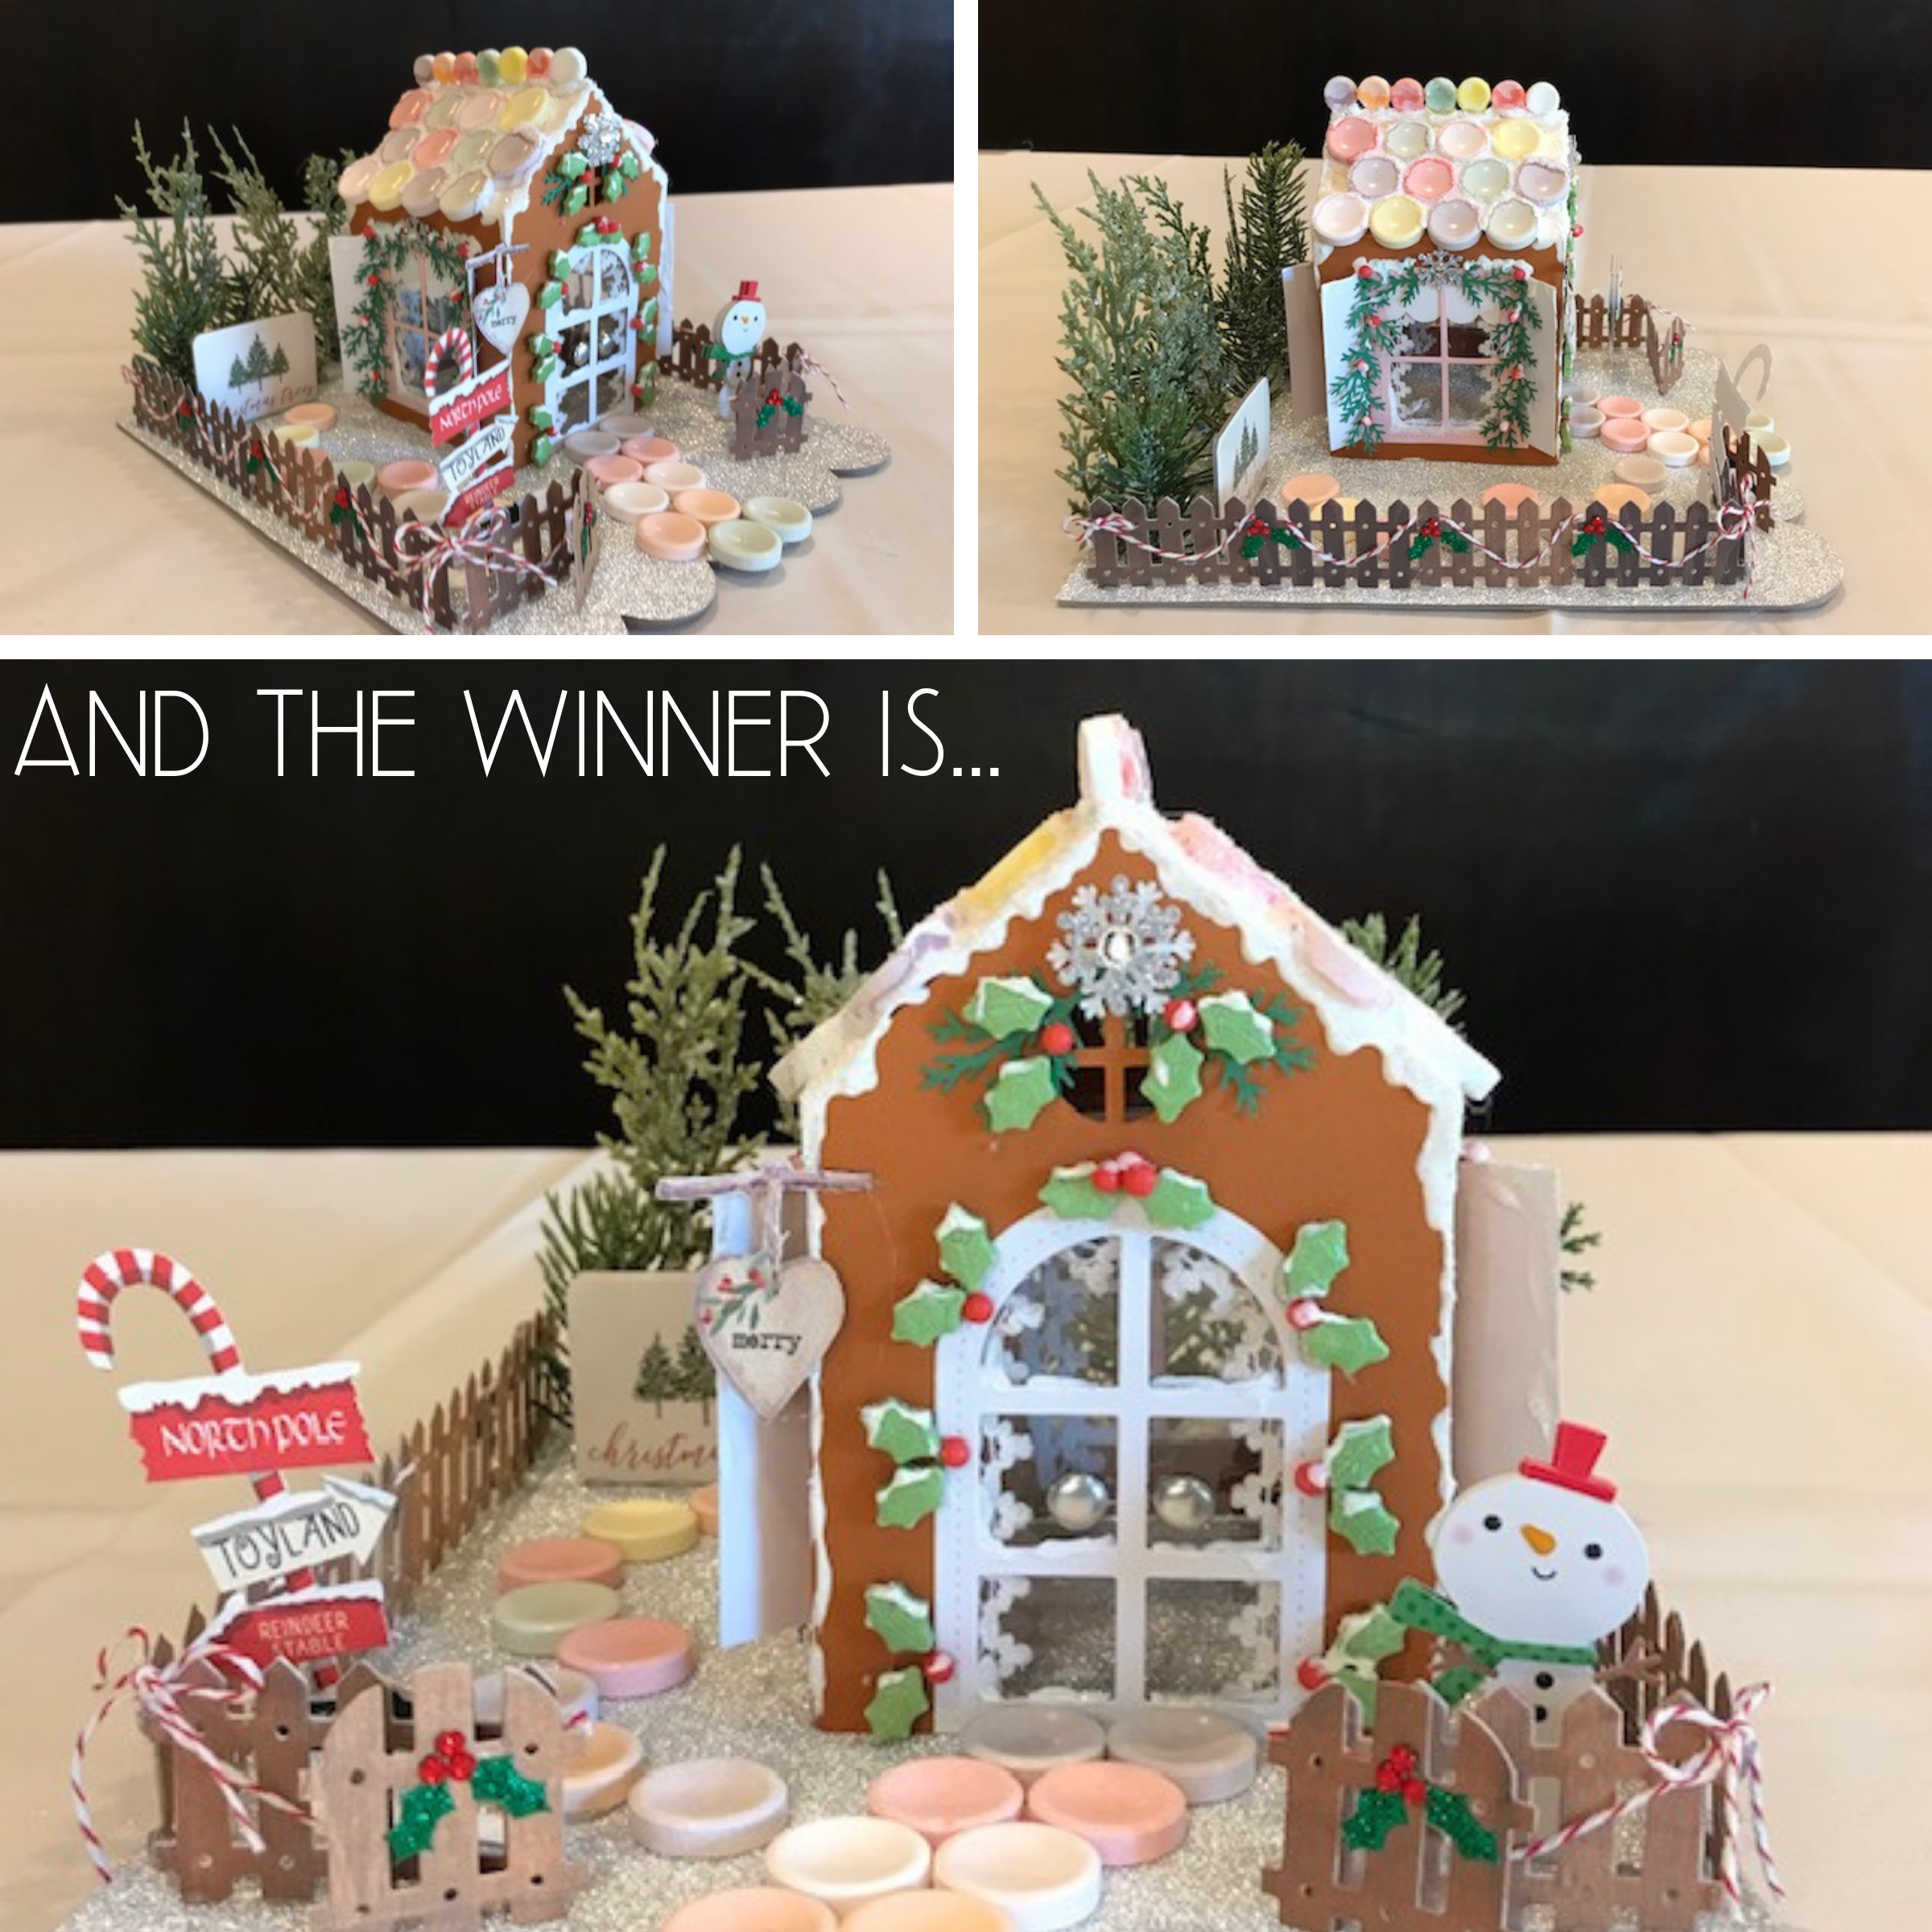
Since this was a contest, we had to vote for our favorite. I will say that I LOVED them all, but there had to be a winner. There were so many fun details in the winner’s Gingerbread House.
The template that was provided for our Christmas in July event, was a SVG file and cut out using an electronic die cutting machine. There are many Gingerbread House templates that you can use if you’d like to adapt this activity.
July is now coming to an end, but the holiday season is just beginning. I hope you are inspired to do something similar.
Ideas for hosting your own Paper Gingerbread House Decorating Contest:
Host a holiday event and invite your friends
Host an event for your kiddos and have them invite their friends
If you teach crafting classes, this would be a great project that can remind your students that creativity is in all of us
If you are a school teacher, consider this for a fun activity – Every student can be a winner
Until next time, keep Creating.
Hugs,
Lynn