• Skip to primary navigation
  • Skip to main content
  • Skip to primary sidebar
  • Skip to footer

Create Scout

We scout around to find and share creative ideas to inspire you to create

  • About
    • Contact
  • One Sheet Wonder – Full Die System™
    • One Sheet Wonder -6×6
    • One Sheet Wonder – 6×6 Add-On
  • Create Scout Blog
  • Tutorials
  • Resources

Lynn Leusch

Make Your Own Cards – Fun and Easy!

July 10, 2019 By Lynn Leusch Leave a Comment

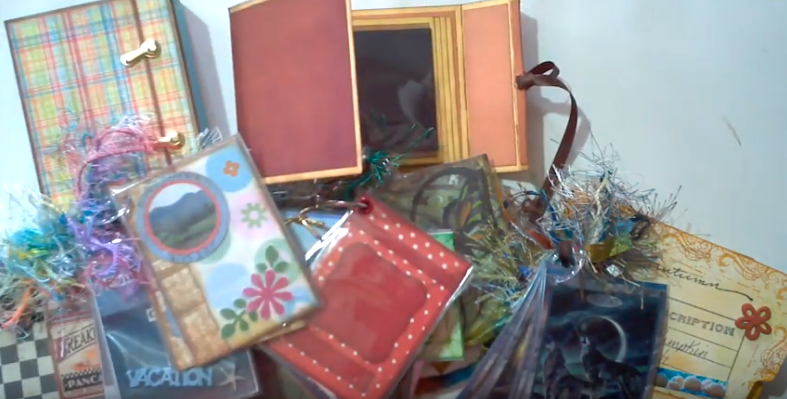
Instead of giving out a store-bought card for the next special occasion, try your hand at making your own cards. Making your own cards does not require a lot of hard work, but rather a bit of creativity and the right materials.

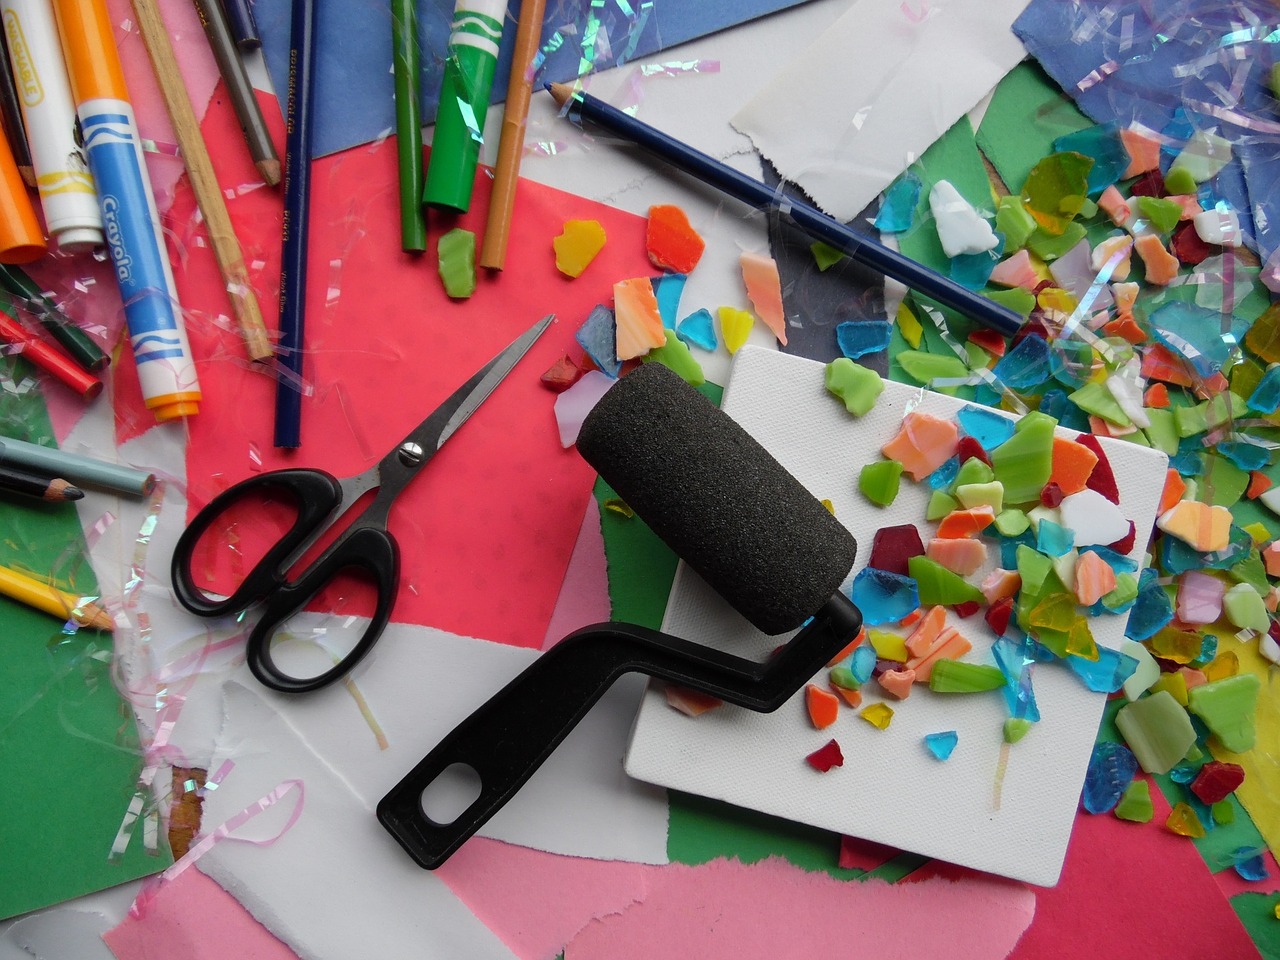
To start creating your cards visit your local arts and crafts store or search online to find the materials needed. Most arts and crafts stores have big scrapbooking sections. This is where you will be able to find the materials to make your own cards. Shopping online can afford you just about any crafting item your heart desires. Let your inspiration guide you as the possibilities are unlimited. You can create various themed cards such as Christmas, birthday, Valentine’s Day cards and much more.

Rubber stamps are widely available and you can buy virtually any color ink to go with the stamps. There are several stamping methods that you can use when making cards including embossing. Embossing is the process of creating a raised image on the card and it can give the card an elegant appearance.

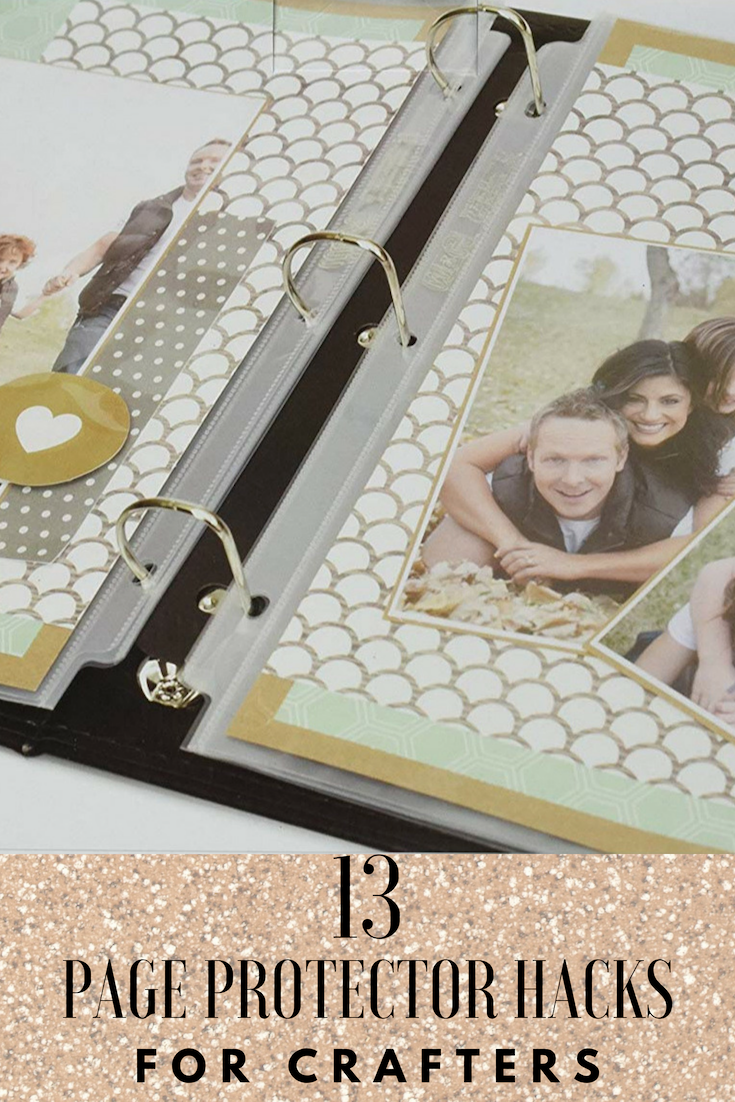
There are several die cuts and die cut machines available as well. Die cuts allow you to punch a shape out with ease. They come in all different shapes and sizes and can be very useful in achieving a layered look. Die cuts can be punched out of different color papers to display a colorful card.

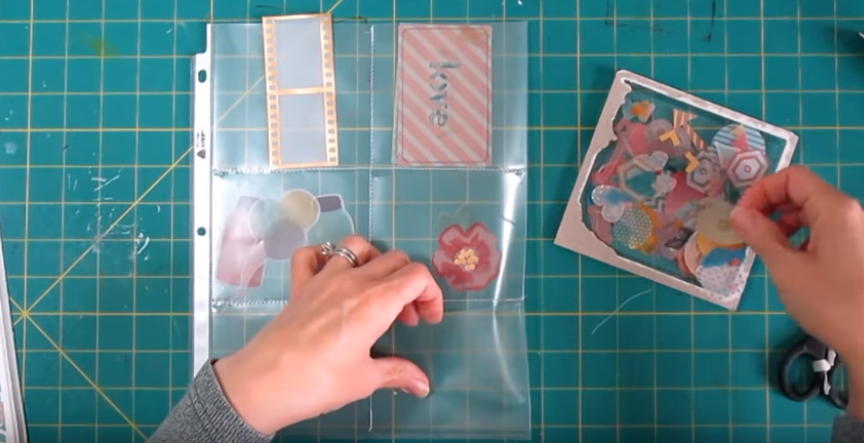
Scrapbook papers come in all different colors, textures and themes. Patterned paper can be purchased as well as glitter paper and pre-scored card kits. Card kits come with the note cards already made and ready to decorate. The kits come in different sizes and often different colors to meet a variety of needs. During seasonal periods, such as Christmas, card kits come out with note cards, envelopes and many different die cut shapes.

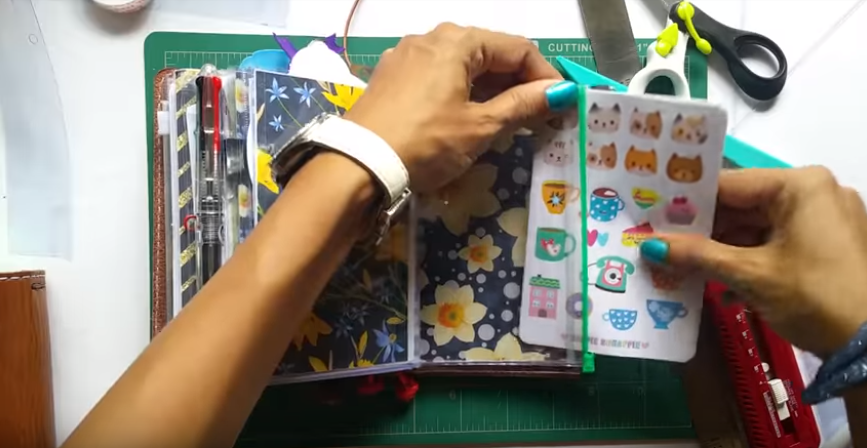
Stickers are available, both regular and 3D and also come in many different themes. You can find a plethora of licensed crafting items such as  Disney, superheroes, cartoons and more. Adding stickers to your cards can help to foster even more creativity when matching colors and themes. You can further enhance your handmade cards by adding ribbon or brads. Ribbon comes in a plethora of colors, shapes and textures. Brads can be used to hold items such as die cuts on the card without the use of an adhesive.

Simply put, making cards is a creative process that only you can foster. Cards can be created with a variety of items found in your local arts and crafts store. You can play around using different methods to decorate the cards and have fun at the same time!

Filed Under: Paper Crafts Tagged With: Card Making

Page Protector Hacks

July 9, 2019 By Lynn Leusch Leave a Comment

Over the years I have accumulated many page protector sleeves in a variety of sizes. Though, in the past I have mostly used them to protect my scrapbook pages I am always open for new ways to put them to use.

As a crafter I am inspired by the many ways page protectors can be used beyond their original intention and I thought it would be fun to explore and share some of those creative ways that they have been re-purposed and re-shaped to offer you creative options.

The following finds utilize a variety of crafting tools, some of which you may already have on hand in your craft stash. Some of these creations are for use in your photo albums and some are great ideas to add to your journals, planners . I also discovered some fun gift items that you can create with mini page protectors.

As you take time to look at these creations, keep your mind open to how YOU might want to use these in your next projects.

Make Divided Page Protectors – Using Sewing Machine or Washi Tape

First up is a tutorial on how you can make divided page protectors that are perfect for scrapbooks or any type of album for that matter. Of course you may already know that divided paged page protectors are available for purchase, but can sometimes be a bit more expensive. I like the ability to be able to improvise and create my own, with my own sized dimensions and make pockets that fit whatever item I want to protect and showcase. Knowing these tricks, you can create pockets for your card creations, ATC cards, Wedding Invitation, etc.

Tools needed: sewing machine to create the pockets, but also has an alternate way of creating the pockets using Washi Tape. A ruler, craft knife and craft mat are also vital to making adjustments to the pages.
Make Divided Page – Protectors

Make Divided Page Protectors – Using Heat Tool

The following video also shows how to make a divided page protector using a heat tool. The tool used in the video is called Hot Marks by Walnut Hallow, but you could get the same effect by using a a Fuse Tool by We R Memory Keepers. I found this video to be a bit slow paced and it has odd music, but it gave some really good tips on how to plan your divided page and then use the heat tool to seal the pockets.

Tools needed: ruler, heat tool, craft knife and mat
Make Divided Page Protectors – Video

Make Any Page Protector Work In Any Album

I’ve personally had this happen where, I picked up a pack of specialty page protectors only to find that they did not fit the album that I was working with. In the moment of finding a good deal, we sometimes forget to look at those vital details. This video has some good tips on how to simply adjust your page protector to fit the album you are using.  Of course, the hole placement is one of the most important things to take note of, but this video has some other good insights for making adjustments to your page protectors.

Tools needed: Cropodile (hole punch)
Make Any Page Protector Work In Any Album – Video

Make Custom Page Protectors

In this video, Melody walks through how she creates custom sized page protectors for projects created by her kiddo so she can safely add them to her scrapbook albums. Several different techniques are presented which offer a variety of ways to protect beloved kiddo creations. Of course, you can simply adapt this to any type of document or memorabilia that you want to protect for years to come.

Tools needed: ruler, scissors, Cropodile, Washi Tape
Make Custom Page Protectors – Video

How to: DIY Traveler’s Notebook Clear Folder

If you are a fan of travelers notebooks this how to video will be a fun watch.  It will show you how to make a clear traveler’s notebook folder out of a page protector. You will learn how to customize it with colorful Washi Tape.

Tools needed: scissors, Washi Tape
DIY Traveler’s Notebook Clear Folder – Video

DIY Travelers Notebook Pocket Dashboard Insert

Yet, another way to re-purpose a page protector, the following video tutorial will walk you through how to create a traveler’s notebook dashboard insert. I imagine this same technique could be used to make journal dashboards as well. Watch through to the end of the video and you will have access to a tutorial on how to create a zip pocket page as well. I found the presenter to be a bit hard to understand, but she does a very nice job in the recording visually walking you through the steps.

Tools needed: ruler, craft knife and mat, scissors, corner rounder, hot glue gun
DIY Travelers Notebook Pocket Dashboard Insert – Video

DIY Pocket Pages For Your Midori – Recipe Storage

So what is a Midori you ask? Great question…Ultimately a Midori is a fancy name for a Traveler’s Notebook. I realize I’ve already shared several great tutorials and resources using page protectors to create pockets to fill a Traveler’s Notebook or Journal. Though this tutorial is similar in that it is about creating insert pockets I think it has a bit of a creative twist that you might find interesting to learn about.

Tools needed: sewing machine, ruler, craft knife and mat, clips to hold pages in place while sewing, scissors
Pocket Pages For Your Midori – Video

Make Page Protector Pocket To Hold Cash Or Receipts For Your Planner In Under A Minute

This 4 1/2 minute video shows you how to quick and easily make a page protector pocket to hold your cash or receipts.  Very simple and easy to re-create.

Tools needed: scissors, hole punch
Make a page protector cash or receipt pocket for your planner

Add Flip Pockets to your Project Life Pages

Another tutorial from DesignsbyMelody where she teaches how to create three different flip pocket pages utilizing page protectors. It walks through the process using many tools that you likely already have on hand. All three of the techniques are a fun way to bring your memory albums to life by making them interactive. Melody does a lot of scrapbooking by creating Project Life Pages, but simply put, you can use these ideas for any page protector project you want to create.

Tools needed: trimmer, scissors
Add Flip Pockets To Your Project Life Pages – Video

Scrapbooking Making a Die Cut Storage Notebook

Lisa (LisaEDesign) shares a a fun organizing technique that you can use to create pockets out of your page protectors to store your die cuts and flat embellishments as a way of organizing your craft space. From my own experience, I know that when I am not organized I don’t enjoy creating as much, because I’m too busy trying to find where everything is. One of the best things we can do for ourselves as crafters is to be as organized as possible, to enjoy the creative process. This is a really cool idea.

Tools needed: sewing machine, Sharpie, ruler, scissors
Make A Die Cut Storage Notebook – Video

Make Mini Books Using Page Protectors

This video is mostly for inspiration as there is no tutorial on how to create these mini books by using ATC sized pocket protectors. I am adding them to this great list, because of the many creative gift options you can make these for. The video creator, Debbie walks through the process, but again, there is not a visual tutorial to create them. Debbie’s enthusiasm for this project just may get you pumped up to make some gifts for upcoming events and holidays. These have potential to also be a really good craft fair item by making generic mini books that simple pictures can be added or add inspirational quotes to bring a blessing to someone.

Make Mini Books Using Page Protectors – Video

Photo Brag Book

If you have kiddos, grand-kiddos or even fur pets that you love to brag about, page protector project will be one you will enjoy creating these Photo Brag Books. This project idea has been around for quite a few years, but feel it is the kind of project that never goes out of style. Of course creating one for yourself is a great idea, but when you see how easy these are to create, you won’t want to stop there. These make great gifts for ALL occasions as well as make for super easy craft fair and boutique items if you are looking for ideas on making some extra money for your creations. These brag books are made by using 4×6 pre-made photo albums that you can find at the .99 stores. This tutorial by Amber gives a very basic step by step process on how to transform these inexpensive photo albums that have multiple page protectors sewed together. Amber states she has been making these for years and provides a variety of  inspiration videos that are listed in her comments section of this video.

Tools needed: since these are pre-made photo books, the tools needed are based on the inserts that you will create to scrapbook your brag book
Photo Brag Book – Video

Name Badge Album

We have reached our last page protector project and I have to say this is probably one of my favorites. I found this gem several years ago and just think it is so creative. This mini album is created by using a unique page protector. It’s unique, because it uses Name Badge protectors. This specific video tutorial by TVWeekly gives very simple mini scrapbook page layouts to finish a complete little mini album. It is finished off by connecting the  name badge holders together using ring clasps or ribbon.

If you would like more Name Badge Mini Album inspiration please check out my Pinterest Board.

Note that Name Badges come in a variety of sizes and orientations. This project idea can be adjusted to fit your needs and available badge holder inserts that you have on hand.

Tools needed: ring clasps and whatever you choose to use to create your page inserts
Name Badge Album – Video


Filed Under: Tutorials Tagged With: Mini Albums, Project Life, Scrapbooking

Crafting = Quality Family Time

July 8, 2019 By Lynn Leusch 2 Comments

Some parents are skilled crafters. Others are doing well to cut paper in a reasonably straight line. No matter which group you fall into, crafting with your kids can be beneficial for all involved.

Few things bring families together like crafting. Here are some of the good things that come out of crafting with your kids.

* Crafting builds creativity. Developing minds need a creative outlet, and crafting provides the opportunity for kids to use their imaginations. It helps them learn to solve problems, and it could lay the groundwork for a lifetime of interest in art. For parents, getting creative can help reduce stress and promote using the brain in ways that we don’t have a reason to use it every day.

* Crafting teaches kids to follow directions. This seems like a very basic skill, but we all know adults who can’t seem to follow directions. When kids craft, they learn the consequences of not following directions when their projects do not turn out as expected. This instills in them the importance of doing things the right way the first time.

* For young children, crafting is fabulous for learning basic skills. Almost any type of craft promotes hand-eye coordination. Kids can also learn to use scissors, measure and do lots of other things they will eventually do in everyday life.

* Parents and children have a chance to talk. In our busy lives, it seems that we know less about our kids than previous generations of parents did. Passive activities such as watching TV do little to encourage conversation. But when you’re crafting together, talking comes naturally. You can seize the opportunity to discuss such things as your child’s interests, his concerns, and how he’s doing in school.

* Crafting is a great way to wind down. It’s wonderful for kids to be active, but there are times when they need to calm down. If you find your child getting agitated or exhibiting an overabundance of energy near bedtime, try bringing out the craft supplies. Crafting engages kids’ minds, giving them something to focus on and a good reason to sit still for a while.

* Creating things is a confidence booster. Parents who craft regularly know the feeling of accomplishment when a project is complete. Multiply this feeling by ten, and you have a pretty good idea of how your child feels when he makes something. For kids, crafting can help build positive self-esteem.

* Working on a project together is a great way to teach your kids teamwork. This will help them develop skills needed to resolve disputes peacefully and effectively. It will also help them discover their strengths and teach them that doing their best will make the entire project turn out better.

* Crafting creates treasured family memories. The finished product will serve as a reminder of the fun you had making it together.

Filed Under: Paper Crafts Tagged With: Crafting With Kids

How To Read A Ruler

June 30, 2019 By Lynn Leusch 1 Comment

How To Read A Ruler


NOTE: This article will explore How To Read A Ruler in inches. We will explore ruler measurements in centimeters in another post.

Reading a ruler is a valuable skill that you will use almost every day, both on and off the job. As a crafter, a ruler or tape measure just might be one of the most important tools used in the creation process, yet there are so many people who don’t know how to use one. I was one of those people for the longest time. I’ve always felt a bit intimidated by all of those little tic lines.

Before learning the secret to cutting measurements I would struggle to create. This severely limited my creativity. I would do my best to keep all my measurements in 1/4″ increments. I comfortably knew the 1/4″ and 1″ increments. Pretty pathetic, right?  If I was ever following a tutorial that needed a 1/16″ or 7/8″ cutting measurement I would either fudge the measurement or had to go research what little line I needed to use, which just delayed my creative process.

Though I don’t remember the lessons in school on how to read a ruler, I’m pretty sure I was taught what those little marks on the ruler were.

If you have ever been frustrated and are struggling to Understand how to read a ruler, ruler measurements and what those little marks on the ruler mean, I hope the information below will give you the skills you need to become confident in your measuring skills which, I believe, will help you improve your paper crafting, card making, scrapbooking and general crafting enjoyment and creativity.

The trick to understanding how to read a ruler is to understand what each little mark on the ruler represents.

  • A ruler is typically 12 inches long (aka one foot long) while other measuring tools can be longer (tape measure)
  • Measuring tools can be found in increments of 1/4″, 1/8″ and 1/16″ marks
  • Each tic mark represents a fraction measurement and with fractions we always want to keep it at the lowest common denominator. Don’t worry, we won’t go any deeper than that when it comes to fractions. LOL!

 The smallest unit of measurement on the ruler below is 1/16″ which is represented by the smallest tic mark|
The individual tic mark lines get incrementally larger, representing a larger measurement
By counting all the lines between the inch marks (5 – 6) you will see that there are 16 tic marks
Since this ruler is in increments of 1/16″, each tic mark is in the same incremental amount
Each line to the right is another 1/16″ mark
The smallest lines are in 1/16″ increments
The line to the right of the 1/16″ mark are the 1/8″ marks
To the right of the 1/8″ marks is the 1/4″ marks
Viewing the image below will show you the measurements
The tic marks are put into a fraction using its lowest common denominator
Example: 12/16″ would be reduced to 6/8″ which then would be reduced to 3/4″

ruler measurements
image via Teachers Pay Teachers

The YouTube video below was originally published in 2011 and for me, is probably one of the best videos explaining how to read a ruler out there. In fact, many of the comments on the video were from people of all ages, saying they wished they had learned this in school, many years ago. I urge you to watch it and see for yourself how this will build your confidence in learning how to measure.

Ruler Resources

Here are some resources that you might find helpful:

HOW TO READ A RULER POSTER
If you are either wanting a quick and easy reference sheet on How To Read A Ruler for yourself or to help teach others (crafters, kiddos, etc), you might consider going to the Teachers Pay Teachers site and pick up this very inexpensive digital poster as a helpful reference and teaching guide.

How to use this resource:
Personal use and reference in your creative space
Classroom Teachers on math bulletin boards
Homeschool Teachers on math boards

How To Read A Ruler
This poster illustrates the different fractions of an inch on a ruler, making it clear and easy to identify measurements on their rulers. The Activity Guide provides supporting activities to practice measuring.

RULER PRINTABLES
Another resource from the same organization at Teachers Pay Teachers is a downloadable printable that can help teach the ruler reaching skills to others. This inexpensive printable would be great to print and download for each student to have their own copy and practice filling in measurement marks. As we know, the more we practice, the easier it becomes. Eventually it will become an automatic skill.

How to use this resource:
Personal learning
Teachers in the classroom
Quilt and Craft instructors

How To Read A Ruler
Printable Rulers (all to scale): templates in both cm ruler templates and inch ruler templates. The inch rulers come in sets of half inch, quarter inch, one eighth inch, and one sixteenth inch increments. The metric rulers are available in mm and cm increments. Each page has five rulers and they are to be printed on 8.5 x 14 (legal) sized paper.

FUN RULER GAME
This last resource is just a fun way to improve your ruler reading skills. It’s called The Ruler Game and is an easy to use site for learning and practicing in both inches and centimeters There is nothing to download and challenges you to continue practicing until you can respond quickly and measure without even thinking. Give it a try…just for fun!


Fun interactive game to practice using a ruler or  measuring tape

Reading a ruler is definitely a valuable skill that you will most likely use in many areas of your life. This skill could be used in your job, in your hobbies, and in your personal life. The more comfortable you are in using them can certainly help you be a more confident measurer (yup, I kinda just made that word up).

HUGS!
Lynn

Filed Under: Tutorials

The Difference Between Arts and Crafts

June 24, 2019 By Lynn Leusch Leave a Comment

The great debate regarding the difference between Arts and Crafts continues on. Ok, ok, I’m not sure that there is really a great debate about this topic, but do believe that many people don’t necessarily see that there is a difference between these two terms. Both of these terms are considered to be forms of creativity, however there are some basic core differences.


Art is considered to be the use of various tools and materials in order to express an idea, emotion or a set of ideas and emotions. Art is typically single pieces of creation meant for display.


Craft is the use of various tools and materials as a form of work, with the sole purpose of creating a real, tangible product. Craft is typically produced in multiples by a skilled craftsman.

The term craft applies to an object that we would use, rather than artwork that we would display. Art is for the purpose only of creating art. These works are often single works, unique and meant for display only and not for use.

These two terms seem very close in description, don’t they?

Many people continue to use the terms interchangeably. However, they do describe different things. Craft is a technical ability, while art is a creative ability. Both are necessary to create works of art. Someone can have incredible artistic vision, but not have the skills necessary to take that vision into creating a tangible item for others to enjoy. Others may have high craft skills in constructing and making something, yet not have the creative vision to create something different.

Whether you believe yourself to be an artist or a crafter, suffice it to say that you are welcome here at createscout.com. This site has been created for the creative soul. We will look at a variety of different creative forms of inspiration.

Filed Under: Paper Crafts Tagged With: Card Making, Scrapbooking

« Previous Page

Primary Sidebar

Recent Posts

  • Ways To Be Creative
  • Creative Decorating Tips From A 5-Year-Old
  • Playdough Playtime – Family Style
  • Glue Gun Essentials – Tips, Tricks & Hacks
  • One Sheet Wonder Valentine’s Day Cards

Recent Comments

  • Atlas_2022 on How To Read A Ruler
  • Glenda Cates on Creative Decorating Tips From A 5-Year-Old
  • Martha on Creative Decorating Tips From A 5-Year-Old
  • Tamara on Playdough Playtime – Family Style
  • Karen Sammer on Playdough Playtime – Family Style

AFFILIATE DISCLOSURE

Sometimes I make recommendations for books, journals, calendars, other products and resources. The link provided, in many cases, is an affiliate link. This means if you click it and purchase, I will earn a small commission when you take action on a recommendation but you will not pay more. I only promote things I personally use, test, and believe in.

Footer

Meet The Blogger

My desire to scout around and discover all forms of creative outlets has led me to introduce you to Create Scout. It takes so much time to discover and find new inspiration, so here at createscout.com, I will work hard to find and bring you the old, the new, the trendy and innovative ways to make pretty things.

Copyright © 2025 · Hosted by Mom Webs Hosting · Log in