
On my journey to learning how to create digital images that can be used by creatives for card making, scrapbooking, and more this heart print was created.
I had seen a similar idea on Pinterest and decided that this would be fun to create with.
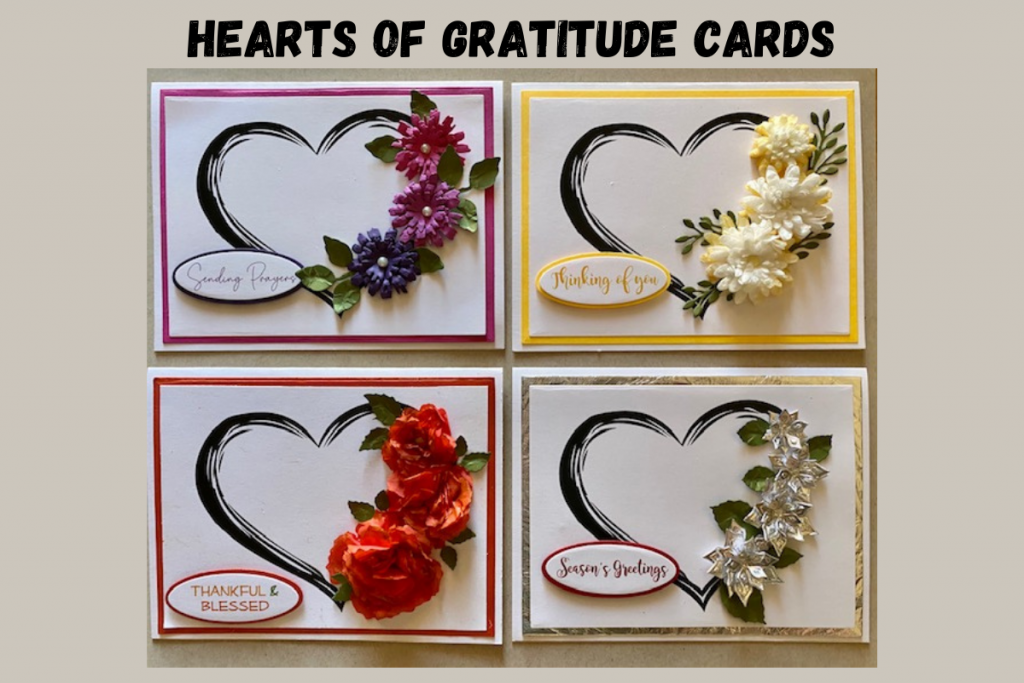
Each card showcases a different seasonal flower and unique flower technique.
Instructions
Each of these cards use a different flower die. It’s quite possible you have some flower dies you can use from your crafty collection. If you don’t have multiple flower set dies to choose from, then of course use the same set of flower dies for all four cards.
The heart printable is a one-page sheet that has four quadrants. One heart per quadrant. Each of the flower sets that are created are placed in the non-print area using a slight curve.
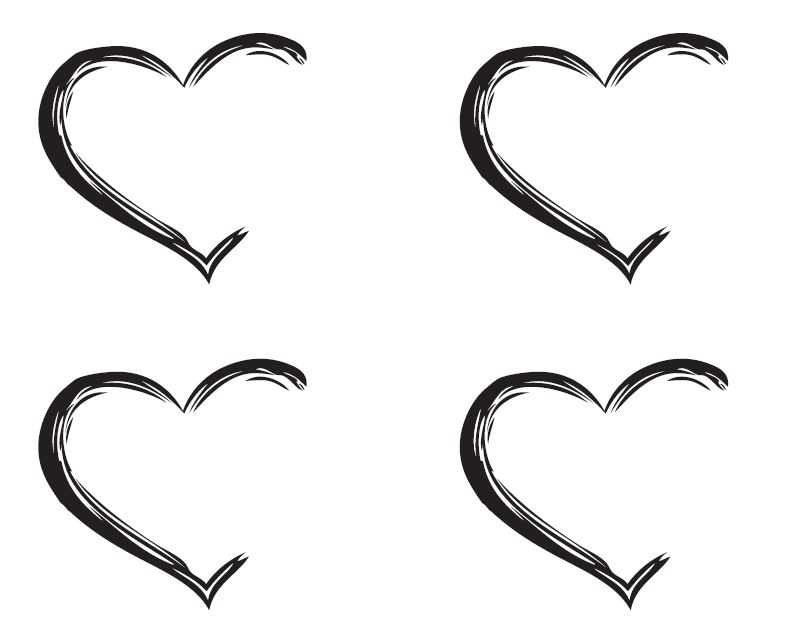
Cut each quadrant apart. This can be accomplished by using a paper cutter. As you can see from the images each of the hearts have been cut down so that they are small enough to add a back layer for color of your choice.
I enjoy using the A2 Card Layer Dies from The Stamp Doctor. They make the process of cutting precise multiple layers super easy. To use these dies for this project decide which two dies you want to use on top of your A2 card base, using a smaller die for the heart print and a larger one for the solid card stock.
Card One – Spring
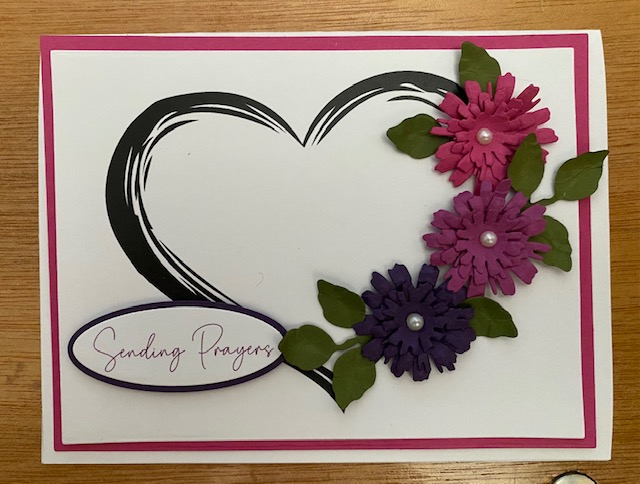
These flowers were made by using colored cardstock. You could certainly make all three flowers out of the same color, but I chose to use three different colors as you can see.
Die-cut flower shapes using different colored card stock.
Die-cut flower stems and leaves.
Using a stylus, place flowers on top of a mouse pad and press in a circular motion to give dimension and shape to each flower.
Build your flowers by gluing them on top of each other from large to small – add pearl or embellishment if you desire.
In the blank area of the heart, adhere your flowers to your heart card panel in a curved shape. Use the left side of the heart shape as a guide for flower placement on the right side.
Add leaves/stems
Layer heart panel on top of the cardstock and then onto the card base.
Adhere (pop up) sentiment.
Card Two – Summer
These flowers are surprisingly fun to create by using paper towels. I was pleasantly surprised and happy with how they turned out. These flowers are fun and fluffy.
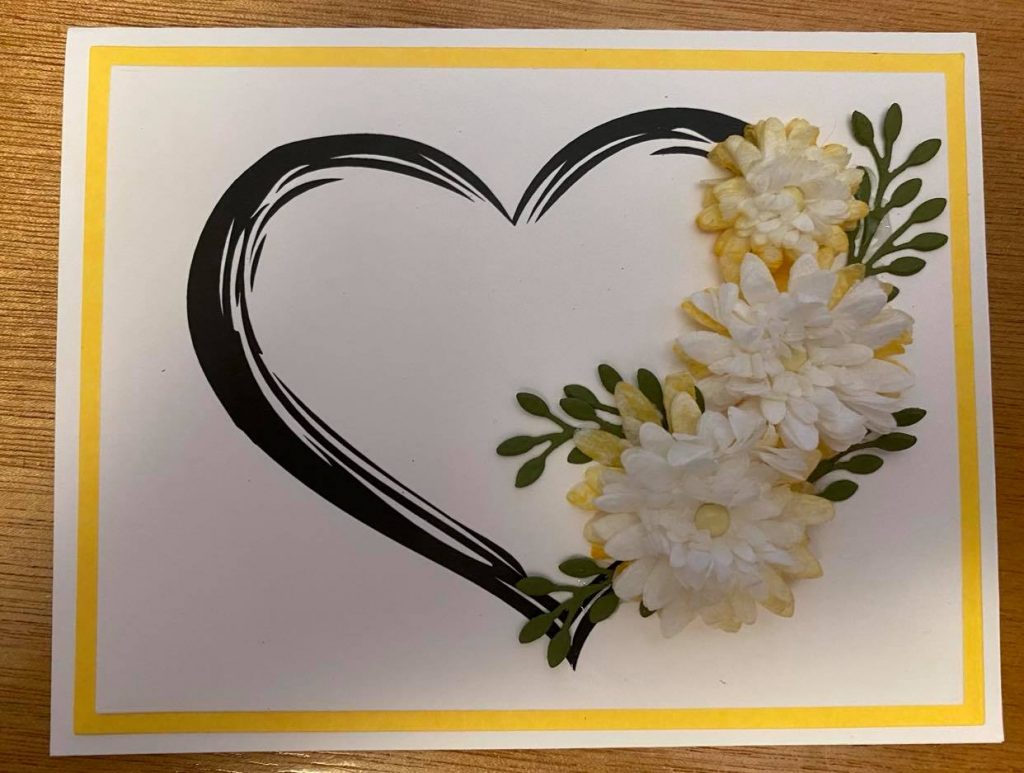
Die-cut flower shapes out of textured paper towels.
Die-cut flower stems and leaves.
Place flowers on top of each other and poke holes in the center of flowers – I used a colored brad to hold them together.
Sponge ink onto lower flower petals to add color to your flower.
In the blank area of the heart, adhere your flowers to your heart card panel in a curved shape. Use the left side of the heart shape as a guide for flower placement on the right side.
Add leaves/stems
fluff the flower petals with your fingers to give them more dimension
Layer heart panel on top of the cardstock and then onto the card base.
Adhere (pop up) sentiment (silly me – I took pictures prior to adding the sentiment – see group image for sentiment placement).
Card Three – Fall
Surprisingly these delicate-looking flowers were created by using colored tissue paper. As you may know, tissue paper is quite thin, so when you are working with these petals be careful to not tear petals. However, if one does tear, don’t worry, it can easily be hidden when fluffing the petals.
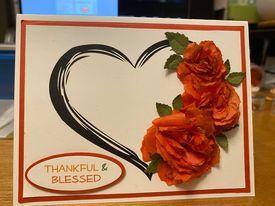
Die-cut flower shapes out the textured colored tissue paper.
Die-cut flower stems and leaves.
Place flowers on top of each other and poke holes in the center of flowers – I used a colored brad to hold them together. Note: I grouped my flowers to create three different-sized flowers to give my card some fun dimension.
In the blank area of the heart, adhere your flowers to your heart card panel in a curved shape. Use the left side of the heart shape as a guide for flower placement on the right side.
Add leaves/stems
Carefully separate the tissue paper petals to fluff flowers and give dimension.
Layer heart panel on top of the cardstock and then onto the card base.
Adhere (pop up) sentiment.
Card Four – Winter
The flowers on this card are made by using regular household aluminum foil. Yup! Such a pretty sparkly look by using something you likely already have in your kitchen.
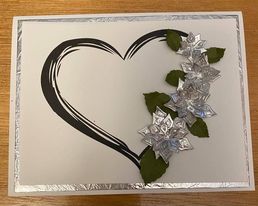
Prior to die-cutting flowers, glue household foil on top of white card stock and press it down so it has a complete seal on the cardstock.
Die-cut flower shapes from the foil cardstock you made.
Die-cut flower stems and leaves.
Build your flowers by gluing them on top of each other from large to small – Stagger the petals on each layer – add pearl or embellishment if you desire.
In the blank area of the heart, adhere your flowers to your heart card panel in a curved shape. Use the left side of the heart shape as a guide for flower placement on the right side.
Add leaves/stems
Since these petals have a cardstock base it is easy to give them dimension.
Layer heart panel on top of the cardstock and then onto the card base.
Adhere (pop up) sentiment (silly me – I took pictures prior to adding the sentiment – see group image for sentiment placement).
Flower and Leaves Dies Used
Dies Used To Create Flowers
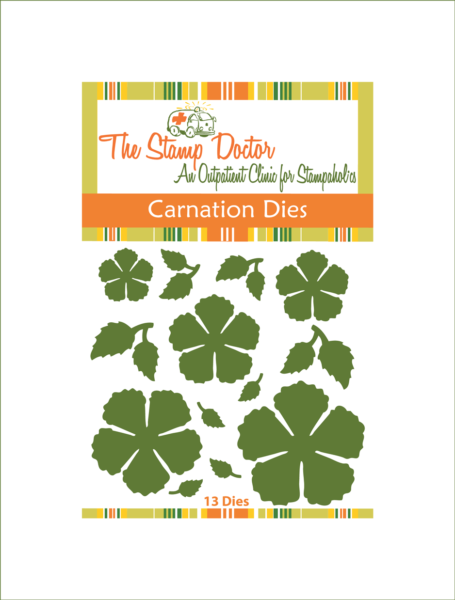
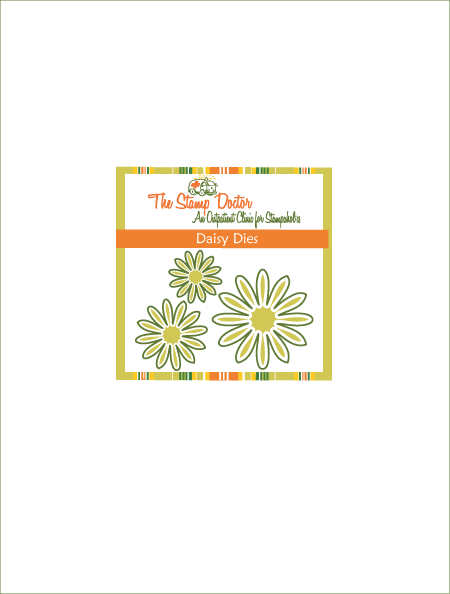
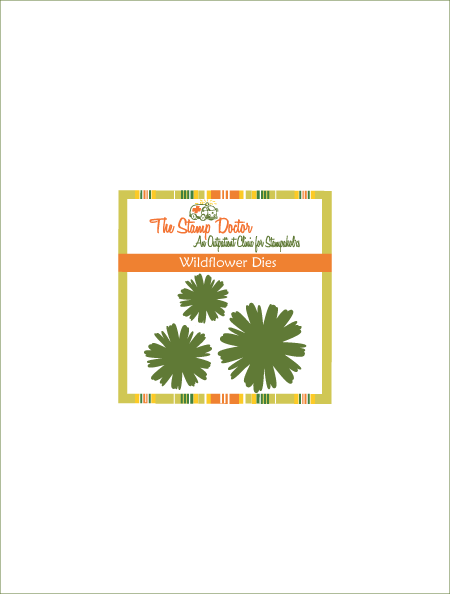
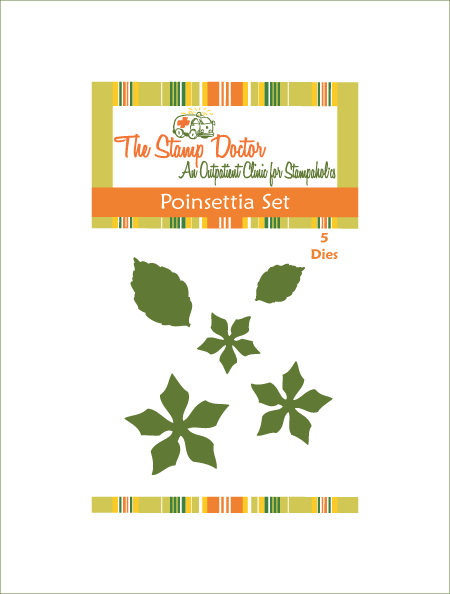
I hope you enjoy these easy-to-make cards using the My Heart print that can be found here.
These cards are a perfect way to express your love and gratitude and maybe sympathy, to your loved ones.
Oh, wow, this is GORGEOUS! Once I get my craft room in decent shape, I’m going to have to try making a card like this.
Thank you for your kind words, Ronda. I would love you to stop back by.
Your designs are amazing! I truly wish I had a creative bone in my body. LOL Loved looking through and look forward to seeing what else you create.
I love hearts and at one time I collected hearts of all kinds. I also like Flowers and will add this project to my son’s Homeschool Art Class for our Valentine’s Day project this year as he can make Cards for his grandmother and Aunt along with Cards for different parts of the year. Leading us to the Craft Store to get supplies which is a Homeschool Field Trip for us getting us out of the home which we need to do